Helpers
The Helpers page is a collection of utility tools that don’t fit neatly into the other categories. A navigation bar across the top lets you switch between tools. Click any button to open that tool or perform its action.
Flush DNS Cache
Click the Flush DNS Cache button to clear your system’s local DNS cache. This forces your computer to re-query DNS servers for domain name lookups, which is useful when:
- A website has changed its server address but your machine still remembers the old one.
- You have edited the hosts file and want changes to take effect immediately.
- DNS-related issues are causing websites to fail to load.
A confirmation dialog appears before the flush runs. After completion, a success or failure message tells you the result.
macOS: Nexis clears the local cache with
dscacheutil -flushcacheand restarts the mDNSResponder service. This requires administrator authentication.
Linux: Nexis tries
resolvectl,systemd-resolve, ornscdin order, using whichever DNS cache service is available on your system.
macOS Maintenance Actions
On macOS, three additional one-click maintenance buttons appear in the navigation bar. These perform common system maintenance tasks that would otherwise require typing Terminal commands.
Rebuild Spotlight
Deletes and rebuilds the Spotlight search index. This can fix issues where Spotlight returns incomplete or incorrect results, or fails to find files you know exist.
A confirmation dialog warns that Spotlight search will be temporarily unavailable while the index rebuilds. Depending on your disk size, reindexing may take 30 minutes to several hours and runs in the background.
Note: This action requires administrator authentication because it runs
mdutil -E /.
Verify Disk
Runs a read-only integrity check on your startup disk. This is the same check that Disk Utility performs when you click “First Aid” — it verifies the file system structure without modifying anything.
After the check completes (typically 1—5 minutes), Nexis displays the full diagnostic output in a scrollable dialog with a clear pass or fail verdict.
Note: No administrator password is needed — this is a read-only operation.
Rebuild Launch Services
Rescans the Launch Services database and restarts Finder. This fixes common macOS annoyances like:
- The wrong application opens when you double-click a file.
- The “Open With” right-click menu is missing entries or shows duplicates.
- Application icons appear as generic white documents.
Note: Nexis uses the safe rescan mode (
lsregister -r). Finder will briefly disappear and reappear as it restarts.
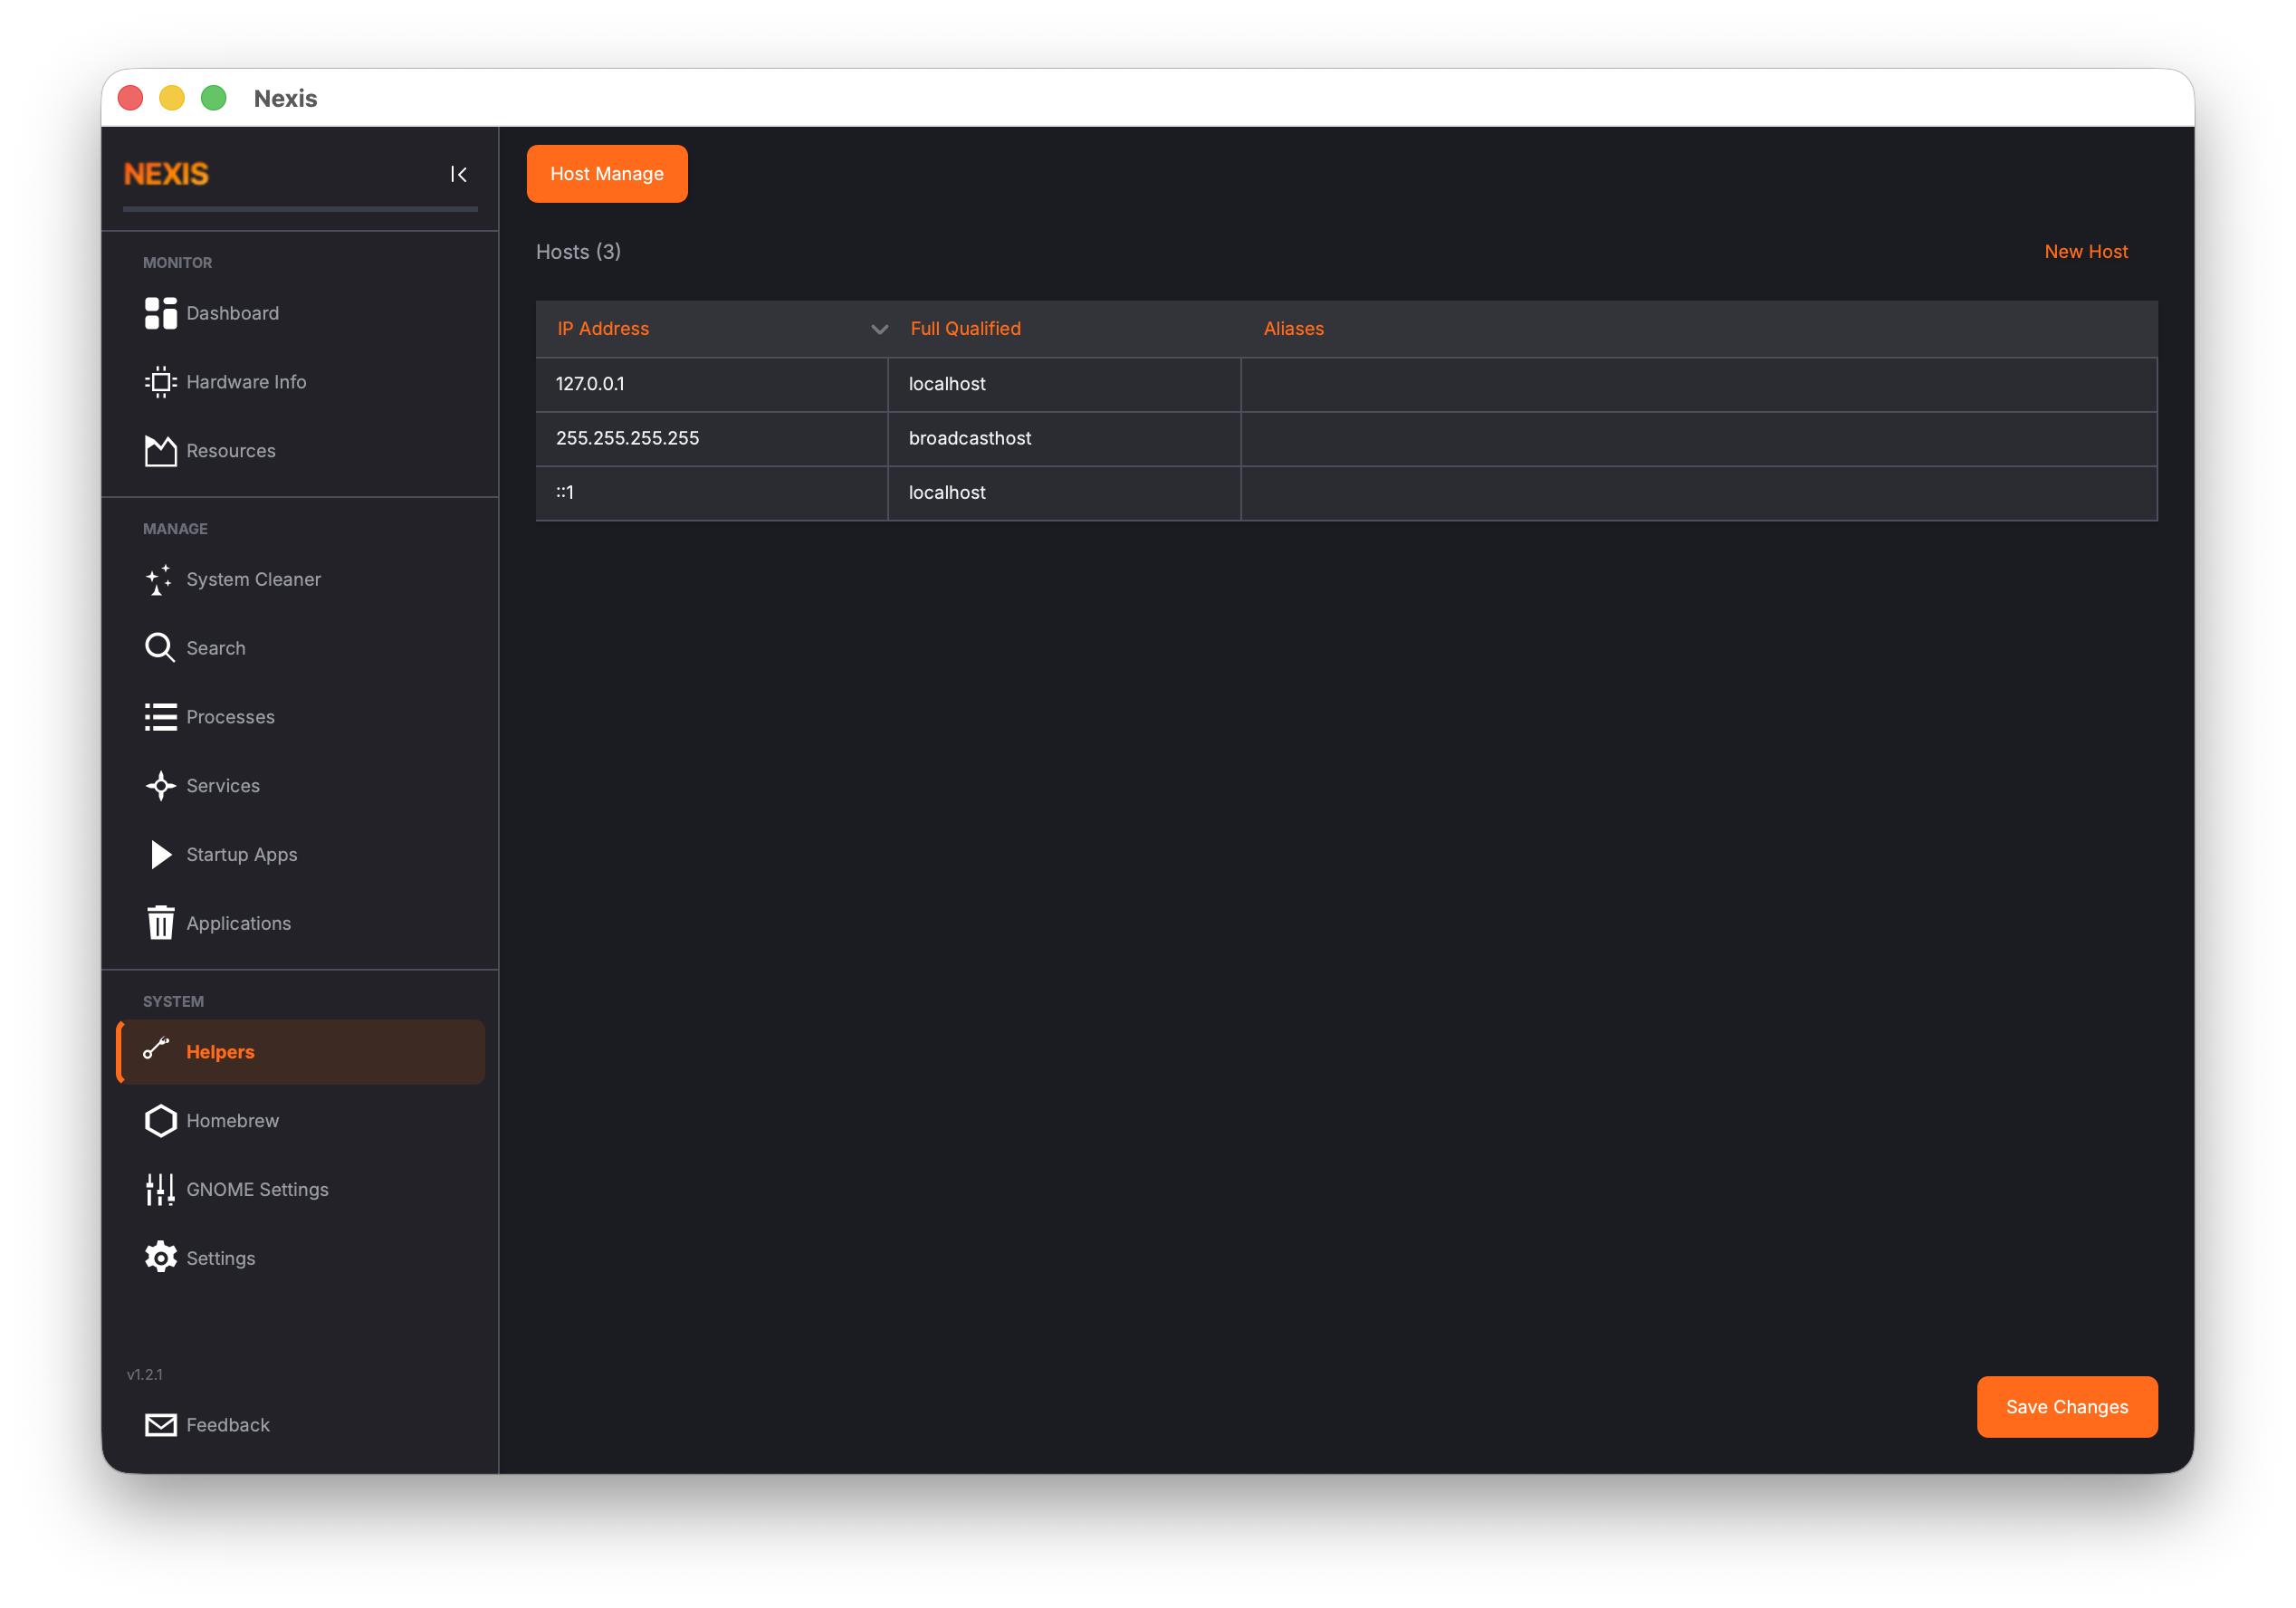
Hosts File Manager
The Hosts File Manager is a graphical editor for the /etc/hosts file that saves you from editing a sensitive system file by hand in a terminal. Click the Host Manage button in the navigation bar to open it.
What is the Hosts File?
The hosts file (/etc/hosts) maps hostnames to IP addresses on your local machine. When your computer tries to reach a hostname, it checks this file before querying DNS. Common uses include:
- Blocking unwanted domains by pointing them to
127.0.0.1 - Setting up local development aliases (e.g., mapping
myapp.localto127.0.0.1) - Overriding DNS for testing or debugging
Editing this file manually can be error-prone. A misplaced character can break name resolution for your entire system. The Hosts File Manager gives you a structured, validated interface for making changes safely.
Viewing Entries
When you navigate to the Helpers page, Nexis reads and parses your current hosts file. Each entry appears as a row showing the IP address, hostname, and any aliases.
Tip: The hosts file is lazy-loaded — Nexis only reads it when you actually visit this page, so it does not add overhead during normal use.
Adding an Entry
Click the Add button to create a new entry. You need to provide:
- IP Address — An IPv4 address (like
127.0.0.1) or an IPv6 address (like::1). - Hostname — The domain name to associate with that IP address (e.g.,
myapp.local). - Aliases (optional) — Additional hostnames that should resolve to the same address.
Nexis validates each field as you type:
- IP addresses are validated using standard IPv4 and IPv6 rules.
- Hostnames are checked against RFC 1123 formatting rules (letters, digits, hyphens, and dots; underscores are tolerated for compatibility).
- Each alias is validated individually using the same hostname rules.
If any field has an error, you will see a clear message explaining what needs to be fixed before you can save.
Editing an Entry
Select an existing entry and click Edit to modify its IP address, hostname, or aliases. The same validation rules apply. This is safer than hand-editing the file because the validation catches common mistakes like malformed IP addresses or invalid characters in hostnames.
Deleting an Entry
Select one or more entries and click Delete to remove them. The entries are not removed from disk until you save.
Saving Changes
When you click Save, Nexis shows a confirmation dialog that summarizes exactly what will change — how many entries are being added, modified, and deleted. Review this summary before confirming.
Automatic Backup
Before writing any changes, Nexis creates a backup of your current hosts file at:
/etc/hosts.nexis-backup
The backup preserves the original file’s permissions. If something goes wrong, you can restore it from this path.
How Writes Work
Because the hosts file is owned by root, Nexis needs administrator privileges to save changes. It writes the new content securely using sudo tee, piping the data through stdin rather than using a temporary file. You will be prompted for your password (or Touch ID on macOS) when saving.
macOS: The administrator prompt appears as a native macOS dialog asking for your password.
Linux: The prompt uses
pkexecor a terminal-basedsudoprompt, depending on your desktop environment.
Error Handling
If you cancel the authentication prompt, Nexis tells you the save was cancelled — no changes are written. If the write fails for any other reason (permissions, disk error), an error dialog explains what happened. A success message appears in the status area when the save completes normally.
What’s Next
Manage your package repositories on the APT / Homebrew page.